

A blank, expressionless face and tech neck can both contribute to facial sagging. Here are four lifting techniques you can do at home—a tech neck stretch, masseter and SCM massage, temple and ear massage, and a cheek pumping exercise—plus tips on minimizing friction and engaging the right muscles.

Hi, this is DAYONE Clinic. Here’s something a lot of people don’t realize: a blank, expressionless face is actually really bad for sagging. Many people deliberately keep their face still to avoid wrinkles, but they’re doing the exact opposite of what they should.
Tech neck is another major cause of sagging. With that posture, no matter how much Ultherapy you get, it simply won’t work as well, and the results won’t last as long. So to save you time and money, I’ve put together four free lifting techniques anyone can easily do at home. They’re simple but effective, so be sure to give them a try.
1. Tech Neck Stretch

First up is a stretch that helps correct tech neck and refine your neckline. You might be thinking, “What does tech neck have to do with a sagging face?” A lot of people don’t know this, but tech neck affects more than just your neck.
When you’ve had tech neck for a long time, the platysma—a broad muscle covering the front of your neck—shortens and stiffens. The platysma pulls your jaw, the corners of your mouth, and the skin of your face downward.
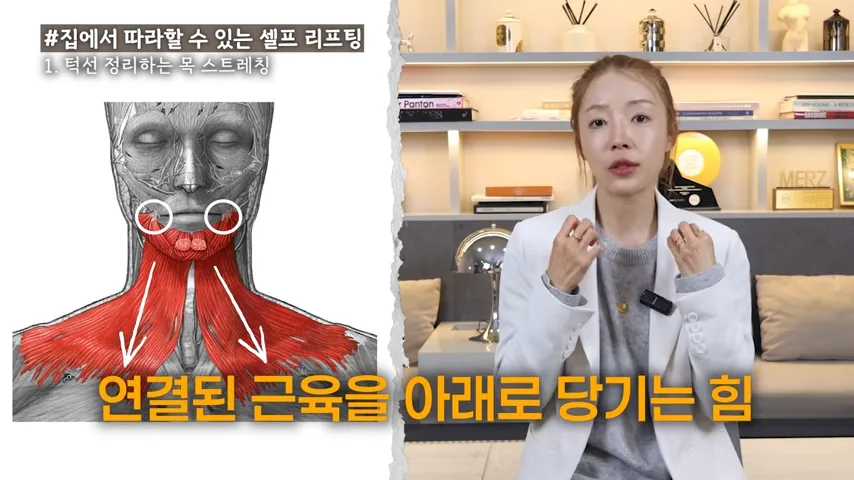
So when the platysma becomes overly tense and shortened, it acts like a rubber band pulling from below: the corners of your mouth droop, your jawline loses definition, and you can even end up with a double chin. Try working this stretch in whenever you can.
Start by raising both arms straight up, then bring them down while squeezing your shoulder blades firmly together behind you. From there, open up your chest and slowly tilt your head back.
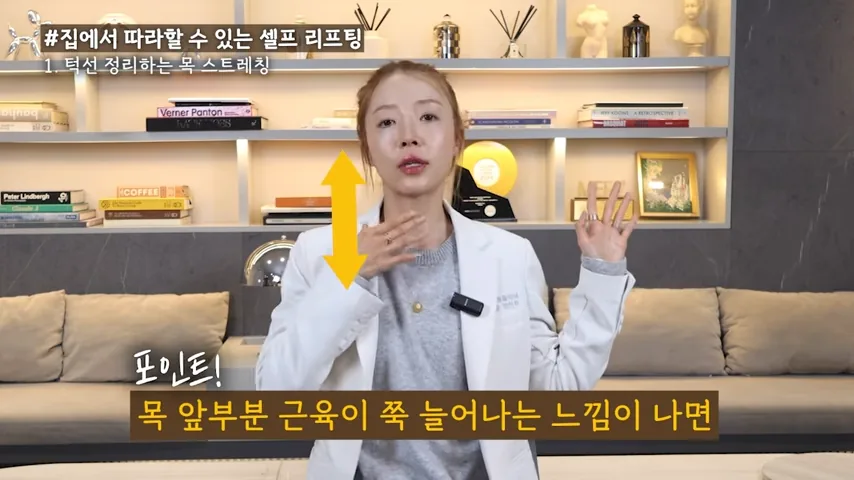
If you feel a long stretch through the front of your neck, you’re doing it right. Hold for about 10 seconds and repeat about three times.
This relieves tension in your neck and shoulders and even boosts lymphatic circulation. Because it’s effective for correcting tech neck, it helps prevent a double chin, and better lymphatic flow can also give you a brighter, clearer complexion. Try doing it throughout the day, whenever you think of it while you’re working or doing chores.
2. Masseter and SCM Massage

The second technique is a muscle and lymphatic massage that releases your facial muscles. Fascia is a thin layer of tissue that envelops the muscles and skin of your face. When it bunches up and contracts downward, your skin sags right along with it. That’s why simply releasing tight fascia can give you a lifting effect.
Let’s start with a masseter massage to define your jawline. The masseter is the jaw muscle that bulges out when you clench your back teeth.

Make a loose fist and gently massage the spot that bulges when you clench, moving in small circles. There’s no need to press hard—it should just feel good. When the jaw muscle stays short and tight, your lower face can look wider, giving you what’s often called a square jaw. Massaging the masseter gives your lower face a much smoother, more refined contour.
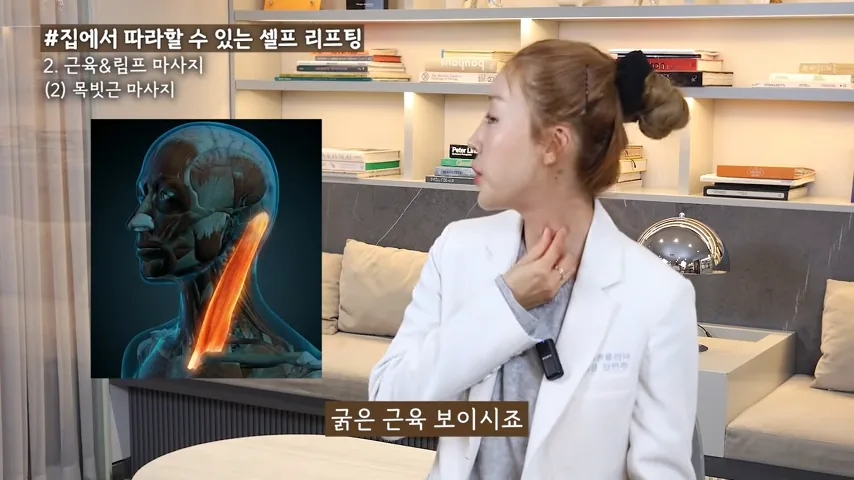
Next is the sternocleidomastoid (SCM) massage. Turn your head slightly—see that thick muscle that stands out along the side of your neck? That’s the SCM. Gently grasp it and hold for about 10 seconds.
Then knead it firmly, working from top to bottom, for another 10 seconds or so. The lymph that carries away waste runs along the SCM, so loosening it up can reduce facial puffiness and make your contours noticeably smoother overall.
3. Temple and Temporalis Massage

Now let’s do a temple and temporalis massage, which helps lift your entire face. The temporalis is a muscle that runs from your temples to the sides of your head, and it works like a clothespin, holding the whole surface of your face firmly in place from above. When the temporalis is relaxed, your face looks lifted; when it’s knotted up, your facial tissue sags along with it, like a taut tent roof caving in. To properly release the temporalis, you need to start at the temples.

With your hands in fists, work your temples like this. Then glide your fists down to the area beside your ears, pressing firmly as you massage. By the way, people under a lot of stress tend to be really tight here. When you unconsciously clench your teeth and engage the masseter, the temporalis tenses up too.
Once you’ve finished the muscle and lymphatic massage, it’s a good idea to follow up with a massage around your ears, which boosts blood circulation and brightens your complexion. There are several ways to do this. First, make a V with your index and middle fingers, slip your ear between them, and rub briskly up and down.
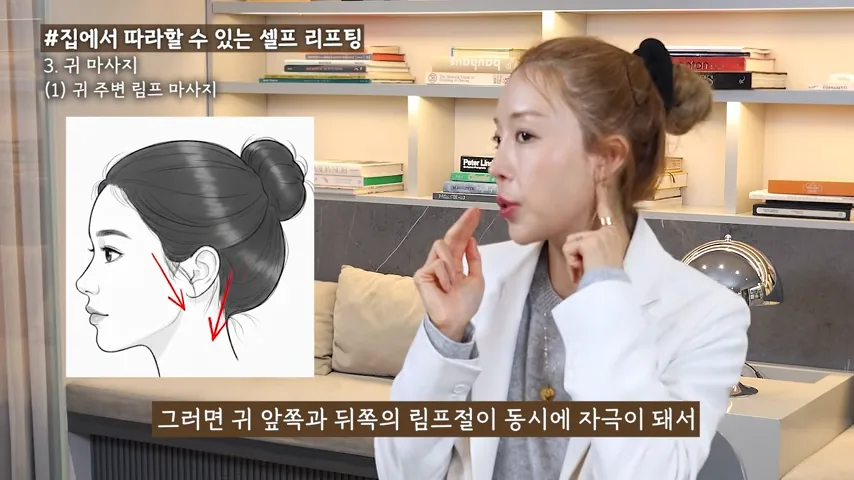
This stimulates the lymph nodes in front of and behind your ear at the same time, which is very effective for circulation. Do about 10 to 20 reps at a time.
Next is ear pulling. Hold the outer rim of your ear between your thumb and index finger and give it a good stretch outward—up, out to the side, down, and so on. Imagine you’re smoothing out a crumpled piece of paper. Don’t pull too hard; just enough that it feels good is plenty.
Then try ear folding. Fold your ear in half from top to bottom, like a dumpling, and press firmly. It may feel stiff and a bit painful at first, but as circulation improves, it gradually softens and becomes less tender.
What Does Ear Massage Have to Do with Lifting?
People often ask me, “Isn’t that just a massage for circulation? What does it have to do with lifting?” Actually, the two are very closely linked.
Put simply, circulation feeds your skin and clears away the waste it doesn’t need. When circulation is good, nutrients reach your skin cells, so your skin stays firm and bouncy instead of drooping. But when circulation gets backed up and waste builds up in your face, it all turns into puffiness.
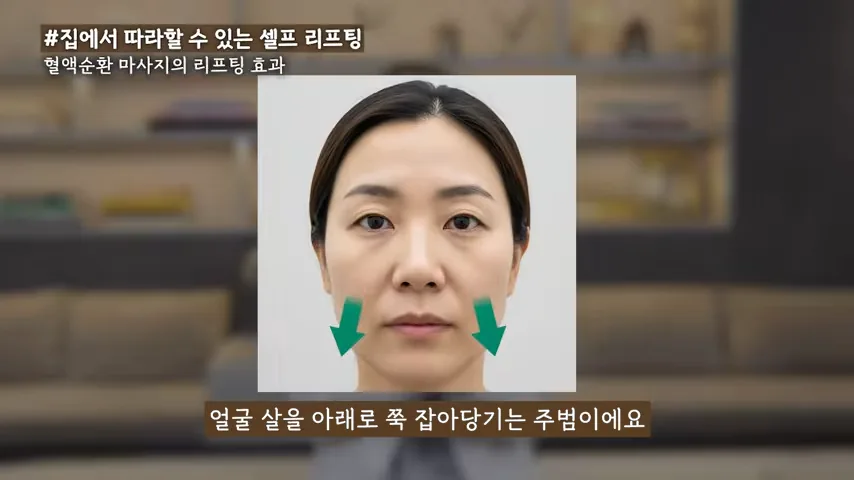
And that puffiness is heavy, like a water balloon—it’s the main culprit dragging your facial tissue down. So simply draining it with an ear massage makes your face feel lighter, and you’ll see an immediate lift as everything sits higher.
4. Cheek Pumping Exercise
The fourth technique is a cheek pumping exercise that lifts the apples of your cheeks and smooths out nasolabial folds, or smile lines.

It’s simple. First, open your mouth vertically into a long O. You should feel your philtrum—the groove between your nose and upper lip—stretching as far as it can, as if you’re smoothing out your smile lines. Holding that shape, fold your upper lip over your teeth and smile using only your cheek muscles, as though you’re pulling them up toward your eyes. Hold for 10 seconds.
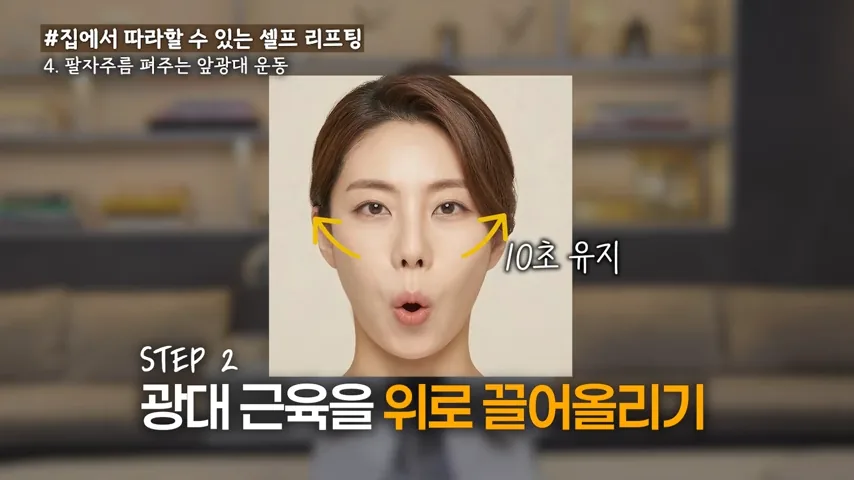
Now touch your cheekbones with your index fingers—you should clearly feel your cheek muscles lifting. It’s harder than it looks, but if you feel the muscles quivering, you’re doing it right. As you strengthen the muscles at the front of your cheeks, you can expect more volume in the midface and softer-looking smile lines beside your nose.
A Few Precautions
People also ask, “Some of us worry that massage or exercises like these might actually cause more wrinkles. Is there anything to watch out for?” Yes—there are two things.
First, the biggest thing to watch out for when massaging is friction. Rubbing your bare face too hard with your fingers can irritate the surface of your skin and actually lead to fine lines.

That’s why I always recommend applying plenty of oil or cream first, then using the flat of your palm or fist—rather than pressing with your fingers—to apply gentle pressure.
Second, with face yoga, just as at the gym, you need to make sure you’re engaging the right area. For example, if your eye area or the corners of your mouth tense up during the cheek-lifting exercise, you won’t be strengthening the muscle—you may just end up with wrinkles.
The Takeaway
Be sure to try the four lifting techniques I’ve shared today: the tech neck stretch, masseter and SCM massage, temple and temporalis massage, ear massage, and cheek pumping. In the next post, I’ll take a closer look at the bad habits that cause facial sagging. If you have any questions, feel free to reach out anytime.
This post is adapted from an interview on DAYONE Clinic’s YouTube channel, Face Design Lab.
This article is general information about the treatment and does not replace an individual diagnosis or treatment plan. Results and their duration vary from person to person.
Wondering what would suit you?
Whether a treatment suits you, and how to plan it, is best decided with a doctor.